Easy Dollar Tree Pumpkin Decor Ideas
Transform Dollar Tree pumpkins into stunning fall decor with this easy DIY! Are your shelves looking a little bare as the leaves turn, or perhaps you’re tired of the same old store-bought decorations cluttering your space? I know I was! Imagine your entryway or mantelpiece adorned with charming, custom pumpkins that look like they came straight from a high-end boutique, all without breaking the bank. We’re talking chic, elegant gourds that add a touch of warmth and sophistication to your home. And the best part? This project can be done in under an hour for just a few dollars. In this article, I’ll show you exactly how to take those basic foam pumpkins and give them a complete makeover, step-by-step.
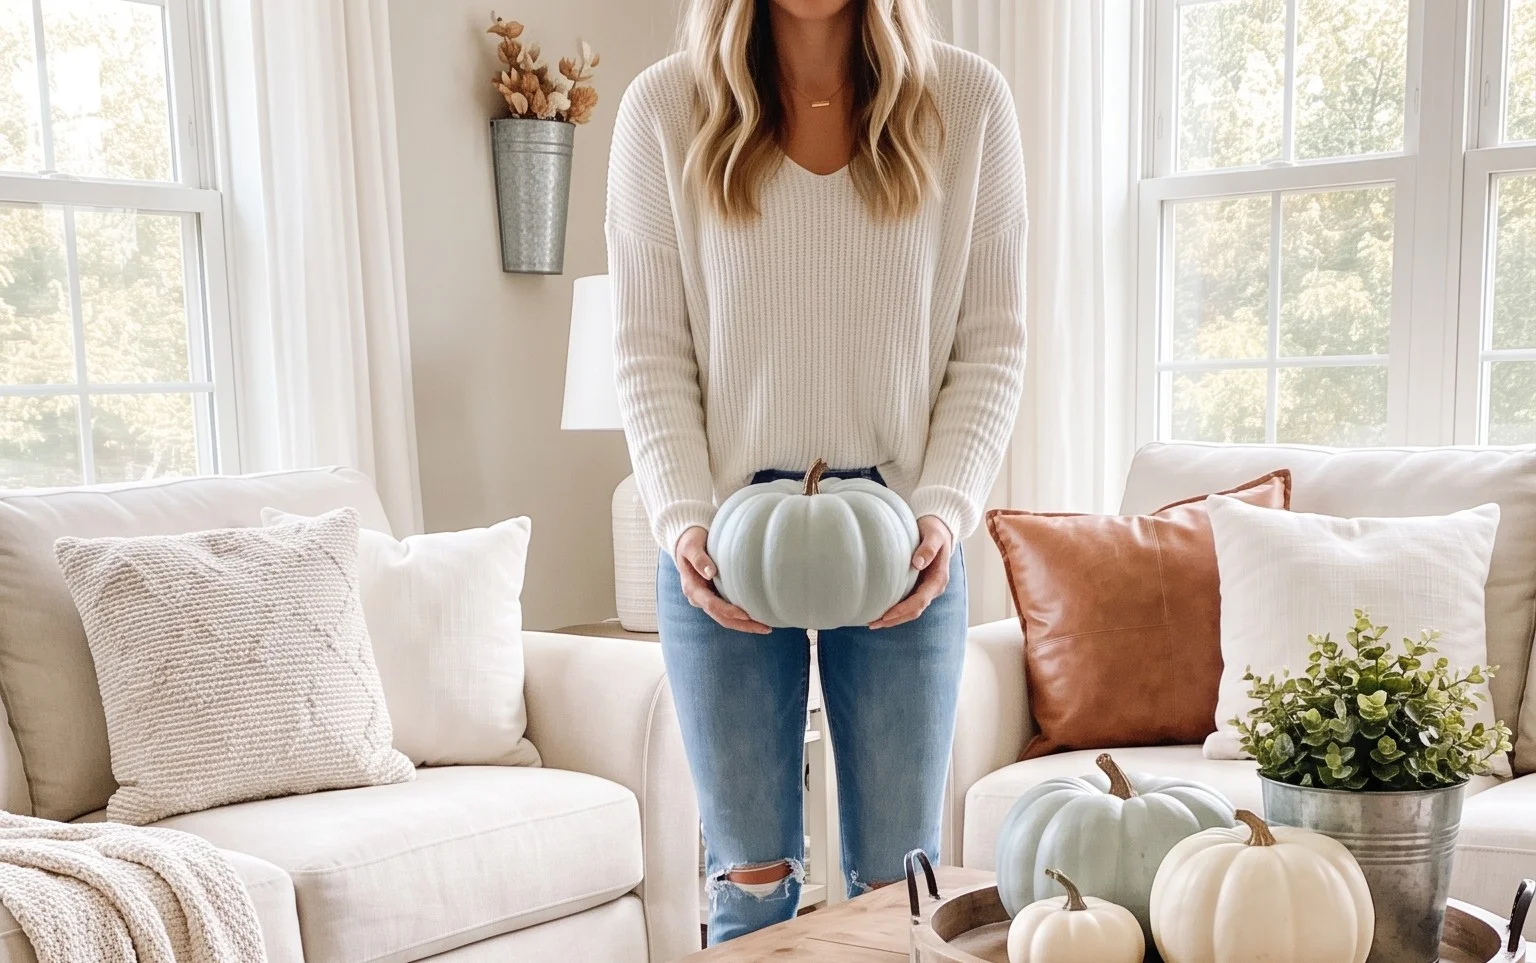
Transform Dollar Tree Pumpkins Into Stunning Fall Decor
Fall is my absolute favorite season. The crisp air, the colorful leaves, and the cozy atmosphere – it all just speaks to my soul. And, of course, no fall decor is complete without pumpkins! This year, I wanted to create some truly unique and beautiful pumpkin displays without breaking the bank. That’s where my trusty Dollar Tree excursions came in. You might be surprised at the transformation that a few dollars and a little creativity can bring to those humble foam pumpkins. Get ready to elevate your autumn ambiance!
Gathering Your Supplies and Budgeting
The beauty of this project is its affordability. You can create a stunning collection of personalized pumpkins for a fraction of what you’d spend on store-bought decorative gourds. Here’s a general breakdown of what you’ll need and a rough idea of costs. Remember, these are estimates, and your exact spending will depend on your local Dollar Tree’s inventory and any sales.
What You Need:
* Dollar Tree Foam Pumpkins: I usually grab anywhere from 5 to 10 pumpkins, varying in size from about 4 inches to 8 inches in diameter. This allows for a nice visual hierarchy in your display.
* Acrylic Paints: You’ll want a few colors. For a classic look, think creams, whites, muted oranges, deep reds, and even some black or dark brown for accents. I often buy 2-ounce bottles, and usually need about 1-2 bottles per color depending on how much you use.
* Paintbrushes: A mix of sizes is helpful. A larger flat brush (around 1-inch wide) for base coats and smaller round brushes (¼ inch and ½ inch) for details. A pack of assorted brushes from the Dollar Tree is usually sufficient.
* Craft Glue or Mod Podge: For adhering embellishments. A small bottle will likely last you for many projects.
* Optional Embellishments: This is where you can really personalize your pumpkins! Think twine, raffia, small faux leaves, faux berries, glitter (use sparingly!), small beads, or even fabric scraps. These can often be found at craft stores or even at the Dollar Tree itself.
* Spray Sealant (Optional but Recommended): A matte or satin finish spray sealant will protect your paint job and give it a more professional look. One can should be plenty for several pumpkins.
* Paper Plates or Palette: For mixing and holding your paints.
* Paper Towels or Rags: For cleaning brushes and wiping up spills.
* Protective Covering: Newspaper, a drop cloth, or an old sheet to protect your work surface.
Rough Cost Estimate:
* Pumpkins: $5 – $10 (for 5-10 pumpkins)
* Acrylic Paints: $10 – $20 (depending on the number of colors and bottles)
* Paintbrushes: $2 – $5 (for a pack)
* Craft Glue/Mod Podge: $1 – $3
* Embellishments: $5 – $15 (highly variable)
* Spray Sealant: $5 – $8
Total Estimated Cost: $28 – $61. This is incredibly reasonable for a custom-designed decor set!
Measuring and Planning Your Masterpiece
Before you even open a bottle of paint, take a moment to plan. This is crucial for a cohesive and visually appealing display. Think about where these pumpkins will live. Will they be on a mantelpiece, a coffee table, a bookshelf, or perhaps clustered on a console table?
Consider Your Space:
* **Scale:** If you have a large mantel, you can afford to go big with larger pumpkins and a more expansive arrangement. For a small apartment shelf, opt for smaller pumpkins and a more condensed display.
* **Color Palette:** Coordinate your pumpkin colors with your existing home decor. If your living room is full of blues and grays, consider incorporating those shades into your painted pumpkins. Or, embrace the classic fall palette of warm oranges, reds, and browns.
* **Theme:** Do you have a specific fall theme in mind? Rustic? Modern farmhouse? Bohemian? This will influence your color choices and embellishments.
Once you have a general idea of your space and desired aesthetic, lay out your Dollar Tree pumpkins. Group them by size. Imagine how they might look together. This initial visualization will save you time and potential frustration later.
The Transformation: A Step-by-Step Guide
Now for the fun part! Let’s get these humble pumpkins ready for their glow-up.
Numbered Walkthrough:
1. **Prep Your Pumpkins:** Most Dollar Tree pumpkins have a plastic stem. You can either leave it as is, or you can remove it. To remove it, gently twist and pull. If it’s stubborn, a craft knife can help loosen it carefully. Some people like to paint the stem or replace it with a real twig for a more natural look. I usually leave the plastic stem and paint it along with the pumpkin.
2. **Prime (Optional but Recommended):** While not always strictly necessary with foam, a light coat of white or cream acrylic paint as a primer can help your chosen colors pop and ensure better coverage, especially if you’re using lighter shades. Let this coat dry completely, which usually takes about 30 minutes.
3. **Apply Your Base Coat:** Choose your main color for each pumpkin. Use your larger brush to apply an even coat of acrylic paint. Don’t worry about perfect coverage on the first pass. Allow the first coat to dry completely (about 1 hour). Apply a second coat for more opaque coverage. You might need a third coat for very light colors over a darker base.
4. **Add Details and Dimension:** This is where your creativity shines!
* **Ombre Effect:** Blend two colors together on your brush as you paint, creating a gradual transition from one shade to another.
* **Textured Finishes:** Dip a dry brush into a contrasting paint color and lightly brush over the dried base coat to create a subtle texture. Think dry brushing with white over a dark color for a whitewashed look.
* **Speckled Effect:** Dilute black or brown paint with a little water. Dip an old toothbrush or a stiff-bristled brush into the paint, then flick the bristles with your finger (away from you!) to create small speckles.
* **Stenciling:** If you have small stencils, this is a great time to add patterns or simple shapes.
* **Hand-Painted Designs:** Freehand simple lines, dots, or even small leaf shapes.
* **Adding the Stem:** If you removed the stem, paint it now. If you’re keeping the plastic stem, paint it to match your design or in a contrasting color.
5. **Adhere Embellishments:** Once your paint is completely dry, use your craft glue or Mod Podge to attach any twine around the base or neck, glue on faux leaves, or secure any other decorative elements. Let these dry thoroughly.
6. **Seal Your Work:** Once everything is dry and adhered, take your pumpkins to a well-ventilated area (preferably outdoors) and apply a light, even coat of spray sealant. This protects the paint and gives a finished look. Allow it to dry completely according to the product instructions.
Adapting for Small Spaces and Rentals
My apartment isn’t exactly palatial, and I know many of you rent your living spaces. The good news is that this project is perfectly suited for both!
* **No Drilling Required:** The entire process relies on paint and glue, so you won’t need any tools that would damage walls or furniture.
* **Portable Decor:** These pumpkins are lightweight and can be easily moved and rearranged. They are ideal for creating temporary fall vignettes on shelves, mantels, or coffee tables.
* **Rental-Friendly:** Since there’s no permanent alteration, these pumpkins are perfect for renters. You can bring them out year after year without worry.
* **Small Space Solutions:** For tight spaces, focus on a few well-chosen, medium-sized pumpkins rather than a large cluster of small ones. Consider painting them in lighter, brighter colors to make the space feel more open. A single, beautifully decorated pumpkin can be just as impactful as a large arrangement.
Styling Your Stunning Pumpkins
The real magic happens when you arrange your newly transformed pumpkins. Think about creating visual interest and a sense of abundance.
Styling Notes:
* **Color Palette Harmony:** Stick to your planned color palette. If you’re going for muted tones, ensure all your pumpkins complement each other. For a bolder statement, use contrasting colors strategically.
* **Varying Heights and Sizes:** Group pumpkins of different sizes together. Place taller ones in the back and shorter ones in the front to create depth. You can even prop up smaller pumpkins on books or small risers to add height variation.
* **Texture Play:** Mix painted pumpkins with natural elements. Place them on a wooden tray, alongside some real or faux fall foliage, or nestled with a cozy knit throw.
* **Placement is Key:**
* **Mantelpiece:** A classic choice. Arrange them in a cluster, varying heights. Add some greenery or fairy lights for extra sparkle.
* **Coffee Table:** Create a focal point. A grouping of 3-5 pumpkins works well.
* **Entryway Console:** Welcome guests with a warm fall display.
* **Bookshelf:** Tuck a smaller pumpkin or two amongst your books for a pop of seasonal color.
* **Don’t Forget the Details:** Add a sprig of faux eucalyptus, a few faux berries, or a miniature fall sign to complete the look.
Keeping Your Decor Tidy After Week One
Once your beautiful pumpkins are on display, you’ll want to keep them looking their best throughout the season.
* **Dusting:** A soft brush or a feather duster is all you need to gently wipe away any dust that accumulates. Foam pumpkins are surprisingly good at repelling dust.
* **Spot Cleaning:** If any spills or marks occur (which is unlikely with sealant!), use a slightly damp cloth and gently wipe the affected area. Avoid harsh chemicals.
* **Reapplication of Sealant (If Needed):** If you notice any significant wear and tear after the season, you can always give them another light coat of sealant before storing them.
Common Mistakes That Make This Project Fail
Even with a simple project like this, a few common pitfalls can trip you up. Let’s avoid them!
* **Rushing the Drying Process:** This is probably the number one mistake. If you try to paint over wet paint or add embellishments to damp surfaces, you’ll end up with smudges, peeling paint, and poorly adhered decorations. Be patient and let each layer dry completely.
* **Over-Complicating the Design:** Sometimes, less is more. Don’t feel like you need to cram every possible embellishment onto every pumpkin. A simple, well-executed design is often more elegant.
* **Not Planning Your Color Palette:** Throwing random colors together can make your display look chaotic. Taking a few minutes to plan your colors will result in a much more cohesive and pleasing arrangement.
* **Using Too Much Glue:** A little goes a long way with craft glue. Excessive glue can ooze out and create unsightly blobs. Apply a thin, even layer.
* **Ignoring Ventilation for Sealant:** Spray sealants have fumes. Always use them in a well-ventilated area to avoid inhaling them and to prevent a strong chemical odor in your home.
Transforming Dollar Tree pumpkins is an incredibly rewarding and budget-friendly way to embrace the magic of fall. With a little planning and some creative flair, you can turn those inexpensive foam gourds into truly stunning decorative pieces that will make your home feel extra cozy and festive. Happy decorating!
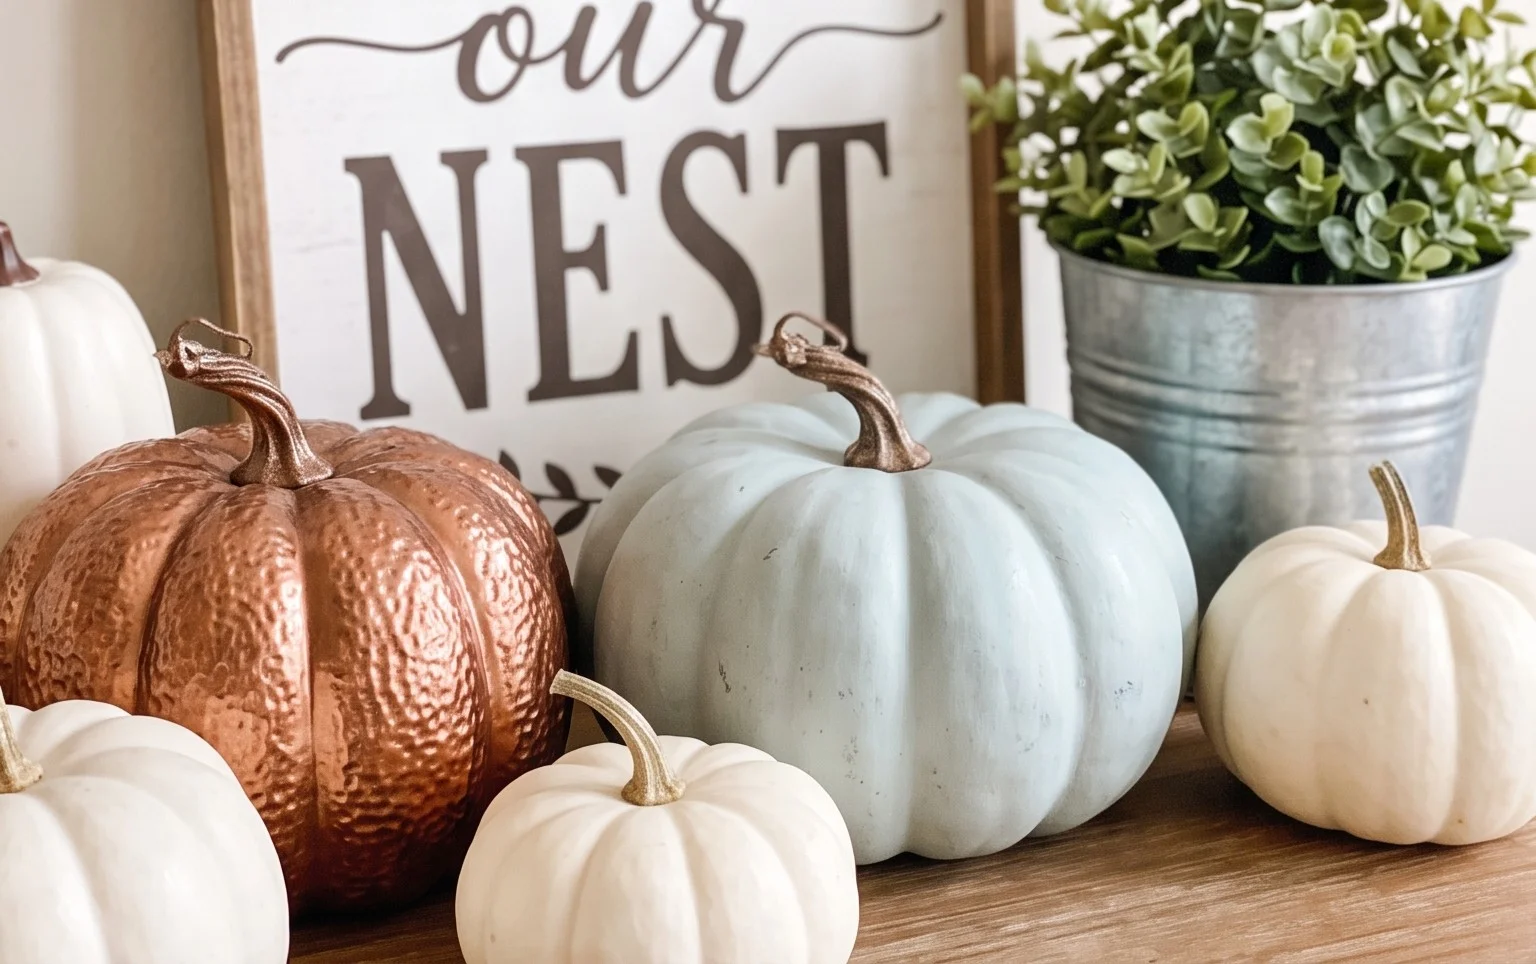
Conclusion
It’s amazing how a few thoughtfully placed, transformed Dollar Tree pumpkins can inject so much warmth and autumn charm into your living space. These simple projects offer a daily dose of seasonal cheer, making your home feel cozy and inviting from the moment you walk in. The smallest first step? Grab one or two pumpkins on your next Dollar Tree run and experiment with a quick coat of paint. For a touch of rustic elegance in the dining room, try distressed finishes or metallic accents. On a tighter budget or for a smaller nook, simply tie a festive ribbon around the stem of a plain pumpkin.
Ready for More?
Don’t stop with pumpkins! We’ve got a whole collection of ideas to help you create your dream fall decor. Explore our other articles for more inspiration and easy DIY projects to make your home sparkle this season.
