DIY Locker Decor & Organization: Easy Budget Ideas
DIY Locker Accessories can transform that chaotic corner into a perfectly organized oasis! Do you ever feel like your entryway is a black hole, swallowing keys, mail, and stray shoes? Or maybe your craft room looks more like a craft explosion? I’ve been there! But imagine this: a beautifully curated space where everything has its place, from your favorite scarf to that pile of important papers. We’re talking stylish magnetic shelves that hold your essentials, clever hooks for bags, and even decorative dividers for those overflowing drawers.
And the best part? These amazing transformations won’t break the bank, often costing under $50 and taking just a weekend. In this article, I’ll show you exactly how to create these simple yet impactful upgrades. We’ll dive into choosing the right materials, mastering basic techniques, and styling your new organized haven. Get ready to conquer clutter and bring some serious charm to your home!
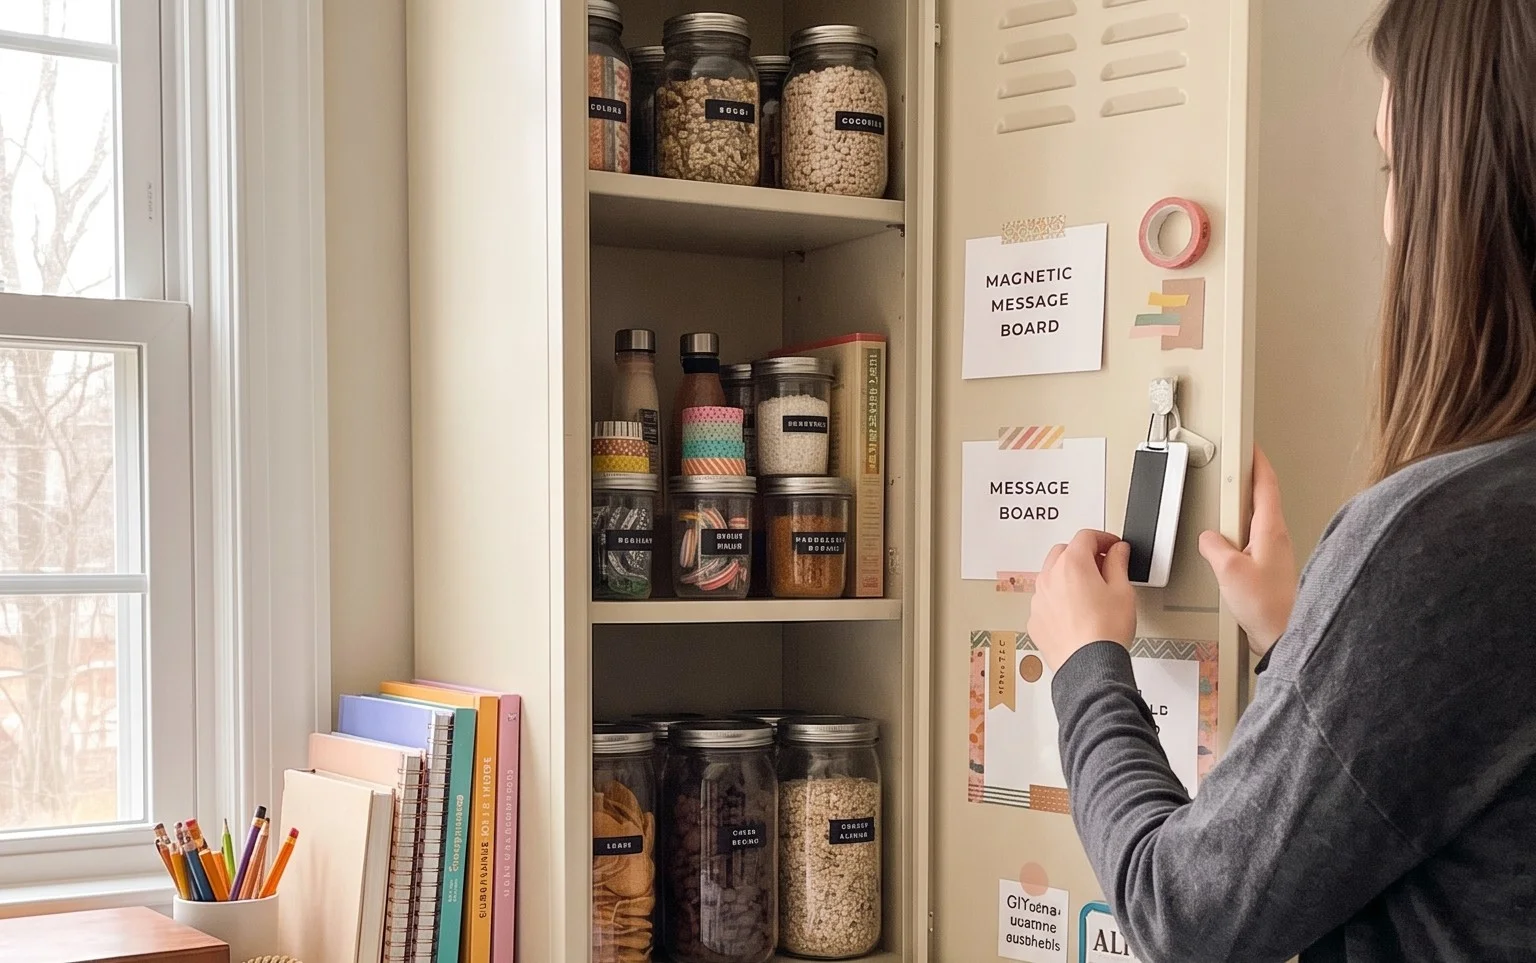
Transform Your School or Work Locker with Stylish DIY Accessories
Let’s face it, school and work lockers can be a bit… drab. They’re functional, sure, but they often lack personality and can quickly become a chaotic jumble. But what if I told you that with a little creativity and a few simple DIY projects, you could transform that metal box into a stylish, organized, and inspiring personal space? That’s exactly what we’re going to do today! I’ve put together some easy-to-follow projects that will elevate your locker from boring to brilliant, and the best part is, you don’t need to be a crafting expert to make them happen.
Why Go DIY?
Beyond the obvious aesthetic upgrade, DIY locker accessories offer a fantastic opportunity for personalization. You can choose colours and materials that truly reflect your style. Plus, it’s often more budget-friendly than buying pre-made, often over-priced, locker organizers. We’re talking about creating a space that not only looks good but also makes your daily routine smoother. Imagine opening your locker and being greeted by a pop of colour, a well-organized collection of your essentials, and a general sense of calm. It’s totally achievable!
What You’ll Need and Rough Costs
The beauty of DIY is its flexibility. You can tailor your shopping list to your budget and what you already have at home. Here’s a general breakdown of what you might need for a few popular projects, with some approximate costs. Remember, these are estimates, and prices can vary widely depending on where you shop and what sales you find!
- Fabric (for lining and decorative elements): This is where you can really have fun! Think about washable cottons, fun prints, or even faux leather for a more sophisticated look. You’ll likely need about 1-2 yards for lining.
- *Estimated Cost: $5 – $20 per yard. Total: $5 – $40
- Cardboard or Foam Board (for shelves and dividers): Sturdy cardboard boxes you already have are perfect, or you can buy foam board for a cleaner finish.
- *Estimated Cost: $2 – $10 for foam board.
- Command Hooks and Strips: These are your best friends, especially in rental spaces or if you can’t drill. They hold surprisingly well and remove cleanly.
- *Estimated Cost: $5 – $15 for a pack.
- Hot Glue Gun and Glue Sticks: Essential for fabric adhesion and securing cardboard pieces.
- *Estimated Cost: $10 – $20 for a glue gun and a pack of sticks.
- Scissors or a Craft Knife: For precise cutting.
- *Estimated Cost: $3 – $10.
- Measuring Tape or Ruler: Accuracy is key!
- *Estimated Cost: $2 – $5.
- Optional Embellishments: Ribbons, paint, decorative tape, magnets, small pouches, etc.
- *Estimated Cost: $5 – $25, depending on your choices.
So, for a comprehensive DIY locker makeover, you’re likely looking at a budget of around $30 – $110, depending on how elaborate you want to get and what materials you already own. Many of these items are reusable for future projects too!
Measuring and Planning: The Foundation of Success
Before you even think about cutting fabric or wielding a glue gun, grab your measuring tape. This is arguably the most crucial step. A poorly measured organizer is an organizer that won’t fit, won’t function, and will ultimately lead to frustration.
- Measure Your Locker Dimensions: Stand your locker up and measure the height, width, and depth. Don’t forget to account for any internal protrusions or the door swing. For a standard school locker, you’re typically looking at dimensions around 12 inches wide, 12 inches deep, and roughly 60-72 inches tall. However, always double-check yours!
- Sketch Your Vision: Grab a piece of paper and sketch out what you want your locker to look like. Where do you envision shelves? What kind of compartments do you need? Do you want a magnetic board? Think about what you regularly store and how you can best organize it.
- Consider Your Needs: Are you a student with textbooks and binders? A professional with documents and lunch supplies? Tailor your design to your specific needs. You might need deeper shelves for books or smaller pockets for pens and keys.
- Factor in Door Clearance: If you’re planning any protruding elements like shelves, make sure they won’t interfere with the door closing or opening fully. Leave at least an inch of clearance.
The DIY Process: Step-by-Step
Let’s get crafting! We’ll focus on a few key projects: lining your locker, creating custom shelves, and adding a magnetic organizational panel.
1. Locker Lining: A Fresh Canvas
This is the easiest way to instantly upgrade your locker’s appearance. We’ll use fabric and removable adhesive.
- Measure and Cut Fabric: Measure the inside surfaces of your locker (back, sides, and ceiling). Cut your fabric to size, adding a few extra inches for overlap and to tuck into corners. If you have a standard locker, you might need pieces roughly 12 inches wide by 72 inches tall for the back and sides, and a piece for the ceiling.
- Adhere Fabric: Use Command Strips or a heavy-duty removable spray adhesive specifically designed for fabric. Start from the top and work your way down, smoothing out any wrinkles as you go. For corners, carefully fold and tuck the fabric for a neat finish. If using spray adhesive, follow the product instructions carefully and ensure good ventilation.
- Trim Excess: Once the fabric is in place, carefully trim any excess with scissors or a craft knife for a clean edge.
2. Custom Shelves and Dividers: Maximizing Vertical Space
These are game-changers for organization. We’ll use sturdy cardboard or foam board.
- Measure and Cut Shelving Material: Based on your initial locker measurements and sketch, cut pieces of cardboard or foam board to create shelves. For a typical locker, a shelf might be around 11.5 inches wide and 11.5 inches deep. If you’re making dividers, measure the height you want them to be and the width to fit snugly between shelves or the locker sides.
- Reinforce Edges (Optional but Recommended): For cardboard, you can reinforce the edges by wrapping them with decorative tape or fabric using your hot glue gun. This makes them more durable and looks nicer.
- Create Support Brackets: You’ll need something to hold your shelves up. You can create simple L-shaped brackets from extra cardboard. Cut strips about 2 inches wide and the length you need to create the ‘L’. Hot glue these brackets to the underside of your shelves and then to the locker walls. For a no-drill rental solution, rely heavily on the strength of your glued brackets and ensuring the shelves fit snugly. You can also use heavy-duty Command Strips to secure the brackets to the locker walls.
- Install Shelves: Carefully place your shelves, ensuring they are level and secure. You can create multiple tiers of shelving to double or even triple your usable space.
3. Magnetic Organizer Panel: Your Command Centre
This is perfect for keeping small items handy and visible.
- Cut Magnetic Sheet: Measure the inside back or side of your locker where you want the panel. Cut a piece of magnetic sheeting to fit.
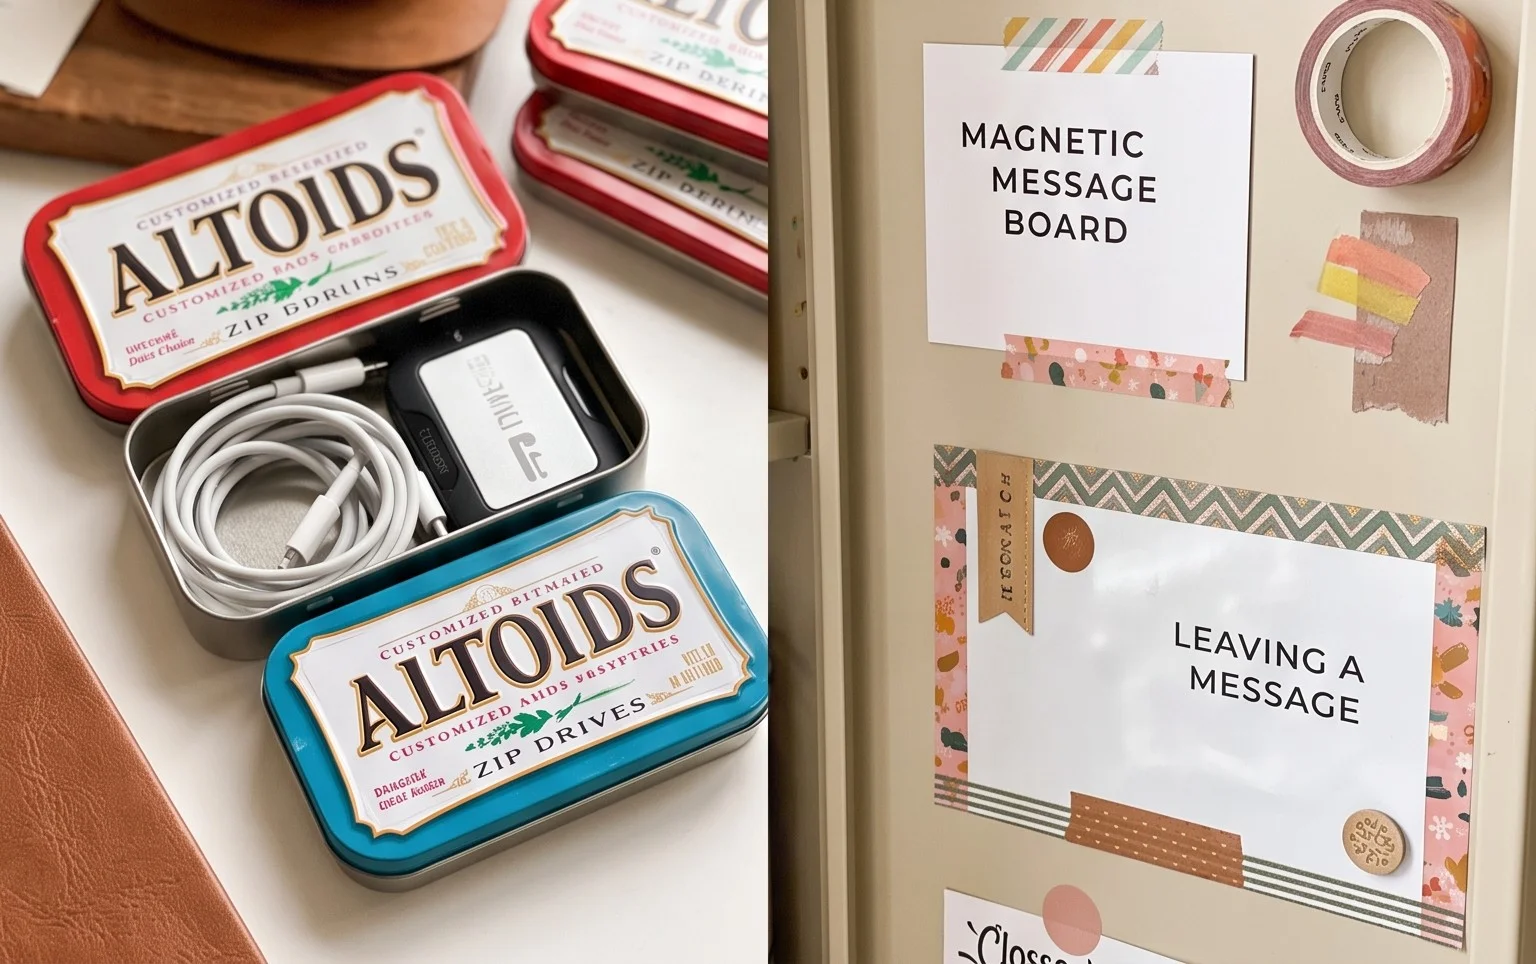
- Decorate (Optional): Cover the magnetic sheet with fabric or decorative paper using spray adhesive or mod podge. Let it dry completely.
- Attach to Locker: The magnetic sheet will stick directly to the metal of your locker. If your locker has a less-than-perfect surface, you might want to use a few strategically placed Command Strips behind the magnetic sheet for extra security.
- Add Small Magnetic Containers or Clips: Attach small magnetic containers for pens, paperclips, or even a magnetic clip for hanging notes and photos.
Styling Notes: Making It Your Own
Now for the fun part – making your locker look amazing!
- Colour Palette: Choose colours that make you happy or complement your personal style. Consider a bold statement colour, a calming pastel palette, or a monochrome scheme. If you’re going for a rental-friendly approach, think about using removable wallpaper or vinyl decals that can be peeled off without damage.
- Texture Play: Mix and match textures to add depth. A smooth fabric lining can be paired with a woven basket or a fuzzy pom-pom embellishment.
- Smart Placement: Think about what you use most often and place it within easy reach. Frequently used items on higher shelves, heavier items on lower shelves. Your magnetic panel should hold essentials like pens, keys, and perhaps a small mirror.
- Personal Touches: Add photos, inspirational quotes, or small decorative items that reflect your personality. Just be mindful of space and avoid overcrowding.
- Baskets and Bins: Use small decorative baskets or bins to corral smaller items. This keeps things looking tidy and prevents them from rolling around. Look for stackable options to maximize vertical space.
Keeping It Tidy After Week One
The initial organization is great, but maintaining it is key to long-term success.
- The “One In, One Out” Rule: When you bring something new into your locker, try to take something old out or re-home it. This prevents clutter from accumulating.
- Daily Tidy-Up: Spend 60 seconds at the end of each day putting things back in their designated spots. This is the most effective way to prevent a full-blown organizational crisis.
- Weekly Refresher: Once a week, take a few minutes to do a more thorough tidy. Wipe down surfaces, remove any stray items, and reorganize anything that’s gotten a bit out of hand.
- Declutter Regularly: At the end of each semester or a few times a year, do a major declutter. Get rid of anything you no longer need or use.
Mistakes That Make This Fail
Even the best intentions can go awry. Here are some common pitfalls to avoid:
- Poor Measuring: I can’t stress this enough. If your measurements are off, your shelves won’t fit, and your organizers will be useless. Measure twice, cut once!
- Using Permanent Adhesives in Rentals: If you’re in a rental space, always opt for removable adhesives like Command Strips. Permanent glue or nails can lead to costly repairs and a damaged relationship with your landlord.
- Overcrowding: Trying to cram too much into your locker will defeat the purpose of organization. Be realistic about the space you have and what you can comfortably store.
- Ignoring Functionality for Form: While aesthetics are important, the primary purpose of a locker is storage. Ensure your DIY solutions are practical and easy to use. Pretty, but unusable, organizers are just a waste of time and resources.
- Not Reinforcing Cardboard: If you’re using cardboard for shelves or dividers, don’t skimp on reinforcement. It needs to be sturdy enough to hold your belongings without sagging or breaking.
- Forgetting About Door Swing: Make sure any protruding elements don’t interfere with the door opening and closing.
With a little planning and creativity, your locker can become a reflection of your personal style and a highly functional space. So grab your supplies, unleash your inner DIYer, and get ready to transform that drab metal box into something truly special!
Conclusion
Transforming your locker with a few DIY accessories can make a surprisingly big difference in your daily routine. Imagine a space that’s not only organized but also a reflection of your personal style, making those school or work days just a little bit brighter and more efficient. Ready to start? Your smallest first step could be as simple as cutting out some decorative paper to line a shelf or create a custom magnet. For a different vibe, consider a similar organizational approach for your kitchen pantry with DIY spice racks or a craft room with personalized storage bins. We hope these DIY locker accessories have sparked your creativity! Keep exploring for even more brilliant ideas to personalize your space.
